The Repair Kit That Earns Its Weight: 200g of Useful, Not Just Reassuring
Every rucksack has a repair kit hidden somewhere. Usually it is a sad roll of duct tape, a zip tie that has gone brittle, and a vague sense that you could probably fix something if pressed. That is not a repair kit. That is reassurance with a weight penalty.
A useful hill-day repair kit is not a workshop. It is field triage: enough kit to get you off the hill safely, or to keep a trip going when a small failure would otherwise end it. I built a 200g pouch for British conditions — wet gritstone, muddy paths, Scottish glens, cold mornings and the occasional unexpected shower — and tested what earns its place.
What goes in the 200g pouch
The target was simple: under 200g, packed in one small pouch, with nothing that only works in a warm garage. My current kit weighs around 185g including the bag. The exact weights will vary, but the principle holds: every item should solve a failure you might actually meet.
- Tenacious Tape or spinnaker tape, about 30cm x 10cm — roughly 8g. Stickier and more durable than duct tape for fabric tears and boot scuffs.
- Two self-adhesive nylon patches — about 8g. For rucksack and trouser repairs.
- 1m of 2mm cord — about 3g. Lace, guy line, temporary pack strap.
- Four zip ties — about 5g. Two small, two medium. Buckle replacements, pack compression, emergency lashing.
- A spare 20mm side-release buckle — about 7g. Match the most common buckle on your pack or hipbelt.
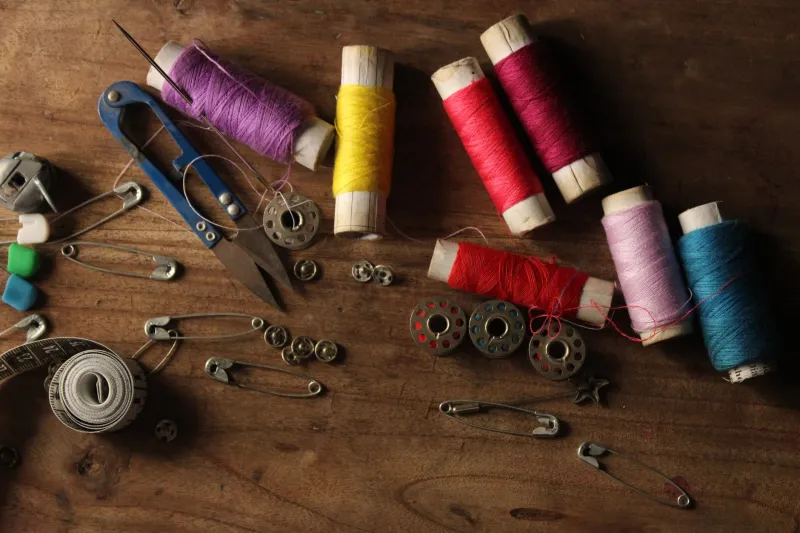
- Needle and 2m of dental floss — about 2g. Floss is strong, cheap and doesn't mind getting wet.
- 7ml tube of Seam Grip or similar adhesive — about 12g. For boot soles, rand separation and fabric repairs.
- Sleeping mat patch kit — about 5g. Ideally the same brand as your mat.
- Two spare stove O-rings — about 1g. Tiny, cheap and trip-saving.
- Mini multitool with pliers and scissors — about 60g. The heaviest item, and the one I use most.
- Small lighter — about 12g. Sealing cord ends, warming adhesive, general camp use.
- A metre of duct tape wrapped around an old card — about 8g. A little is fine. A full roll is not.
- Small pouch — about 25g.
That is not a glamorous list. It is a list of things that have either fixed something or replaced something that failed. The dead weight I left out: a full sewing kit, a giant roll of duct tape, spare buckles for every bag I own, superglue that has dried out since last winter, and a 'multi-purpose' tool that weighs 200g on its own.
Failure one: boots start talking
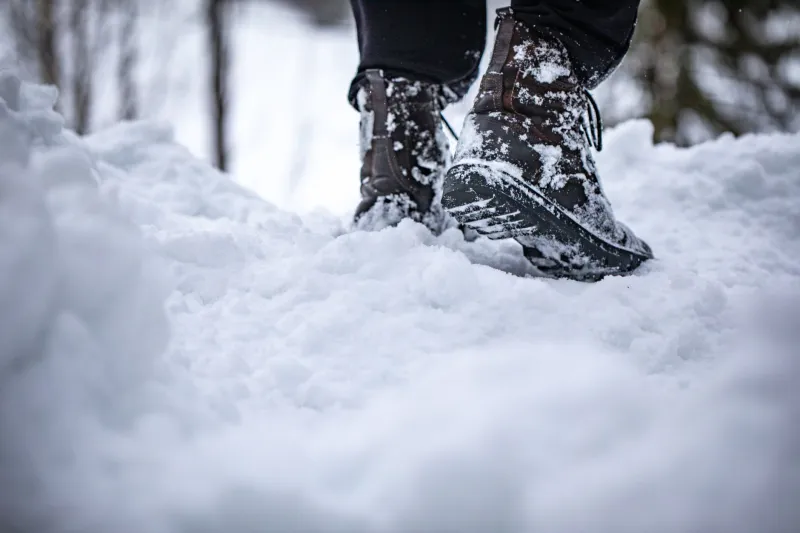
The most common boot failure on a British hill day is not a catastrophic sole loss. It is a sole or rand starting to peel away, usually after a wet walk followed by a cold night. You notice it at the heel or toe, flapping slightly, gathering mud.
The field fix is straightforward if you catch it early. Clean the area with a damp cloth and let it dry as much as conditions allow. Warm the Seam Grip tube in a pocket for a few minutes, then apply a thin layer to both surfaces. Press the sole back into place, tape it firmly with Tenacious Tape or duct tape, and keep weight off it for as long as you reasonably can. In cold, wet weather the cure will be slow; think of it as a get-me-off-the-hill fix, not a permanent repair.
For a broken lace, 2mm cord works fine as a temporary replacement. For a pulled eyelet, a zip tie threaded through the remaining fabric can get you moving, but treat it gently and replace the boot or get it repaired properly once you are home. This is not the place for heroics.
Failure two: rucksack fabric or buckle gives up
Pack failures tend to happen at the worst moment: squeezing through a rocky gap, overloading a strap, or catching a buckle on a gate. A torn side pocket or lid is annoying; a failed hipbelt buckle is a day-ender if you cannot improvise.
For fabric tears, clean the area, dry it as best you can, and apply a self-adhesive patch on both sides if the tear is in a high-stress area. If the tear is long or load-bearing, stitch it with dental floss first. It is not elegant, but it is strong. For a broken buckle, a zip tie or a short length of cord can replace the connection temporarily. Keep the load light and replace the buckle properly at home.
Zip ties are brilliant, but they are not a permanent load-bearing fix. If you are replacing a hipbelt buckle with a zip tie, take the weight off it when you stop and get a proper spare fitted as soon as you can.
Failure three: air or fuel escapes
A sleeping mat puncture is a classic. Find it by inflating the mat and running soapy water over the surface — a small leak will bubble. Dry the area, apply the patch from your mat kit, and weight it while it cures. If the leak is at a valve, you may be able to tighten or reseat it, but do not force it. A patch on a wet mat will struggle, so keep the repair dry and give it time.
Stove seals are the other tiny failure with outsized consequences. If you smell gas, stop. Turn the stove off, take it outside, and let the area ventilate. Check the O-ring for cracks or flattening, replace it with a spare, and leak-test with soapy water before lighting. Never test for a gas leak with a flame. If the replacement seal does not solve it, leave the stove alone and use your backup plan.
The budget shopping list
You do not need to spend much. Approximate UK prices:
- Tenacious Tape: £8
- Self-adhesive patches: £5
- 2mm cord: £4
- Zip ties: £2
- Spare buckle: £3
- Needle and dental floss: £2
- Seam Grip 7ml: £7
- Mat patch kit: £5
- Stove O-rings: £3
- Mini multitool: £15–£25
- Small pouch: £5
That is roughly £60 if you buy everything new, and less if you raid the odds-and-sods drawer. The multitool is the item to spend on carefully; a cheap one that twists or rusts is worse than no pliers at all.
Practise before the hill decides for you
A repair kit you have never used is just a bag of small hopes. Spend twenty minutes at home doing a dry run. Stick a patch on an old jacket. Sew a strap with dental floss. Replace a buckle on an old pack. Patch a punctured mat in the kitchen. Change a stove O-ring and leak-test it outdoors.
The point is not to become a backcountry engineer. The point is to know where everything is, how the adhesive behaves, and how long a repair takes when your hands are cold. Check the kit once a year: replace dried-out adhesive, brittle zip ties and perished O-rings. Keep it in one pouch, not scattered across three pockets.
At around 200g, this kit is about the weight of a couple of flapjacks. It will not fix everything, and it is not a substitute for proper maintenance or retreating when conditions turn. But it turns a lot of small, trip-ending failures into five-minute jobs at the side of the path. That is a fair trade for British hill days.