The Pre-Winter Boot MOT: Why Reproofing Beats Replacing
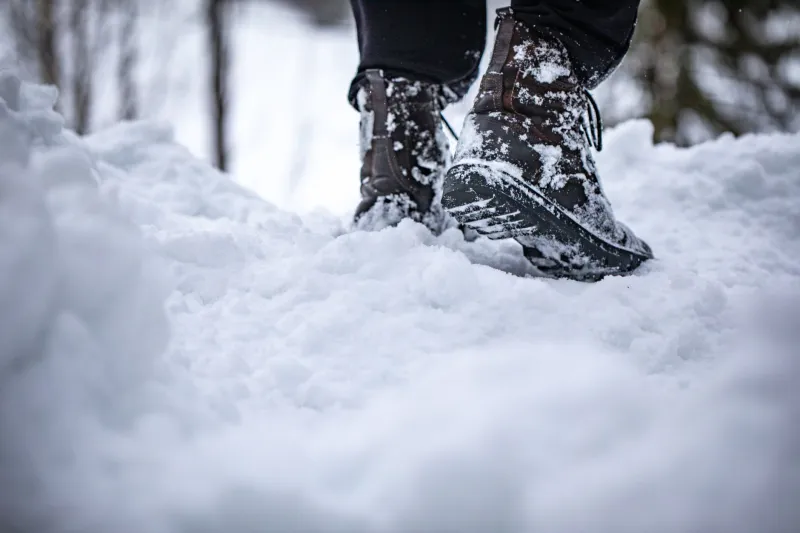
There’s a particular sort of damp that settles into a British winter. It’s not the dramatic stuff — not snow, not proper storms — just wet grass, muddy gateways, puddle-strewn towpaths and that low, grey drizzle that seems to last from Bonfire Night until March. It’s also the sort of weather that quietly destroys boots while you’re busy blaming the membrane.
Most of us have done it: a boggy weekend in the Peak District, boots chucked in the porch, and by Tuesday they’re still damp and starting to smell faintly of pond. Then comes the first properly wet hill day of the season, and within twenty minutes your socks are clammy. The instinct is to assume the boots are knackered. More often than not, they’re just thirsty.
The membrane isn’t the whole story
A waterproof membrane — Gore-Tex, eVent, or whichever proprietary version your boots use — sits inside the boot and stops water getting through the fabric. But it doesn’t stop the outer material from getting wet. That’s the job of the durable water repellent finish, or DWR.
When the DWR is working, rain and puddle water bead up and roll off the surface. When it’s worn away, the outer fabric soaks up water like a sponge. The boot becomes heavy, the surface stays wet, and — crucially — the membrane can no longer breathe properly because it’s covered by a layer of standing water. You end up wet from the inside out, even though no water has actually got through.
You can spot a failed DWR pretty easily. Pour a splash of water on the toe of a clean boot. If it beads and runs off, you’re fine. If it darkens the fabric and spreads out into a flat patch, the DWR has gone. That’s not a terminal diagnosis. It’s a maintenance job.
The pre-winter MOT, step by step
Pick a dry, mild Sunday afternoon. Put the kettle on. This is not a faff — it’s about twenty minutes of actual work, plus drying time.
Start by removing the laces and insoles. Brush off dried mud with a soft brush or an old toothbrush, paying attention to the rand — the rubber strip around the bottom — and the seams where grit likes to gather. Don’t attack the boots with a pressure washer or a hose at full blast; you’ll push water into places it shouldn’t go and damage the surface.
Wash the outside with lukewarm water and a dedicated tech wash or a very mild soap. Not washing-up liquid, not detergent, not fabric softener. Those strip whatever DWR is left and can leave a residue that actively attracts water. Rinse thoroughly with clean water.
Pull the insoles out and let everything dry slowly, at room temperature, away from radiators and definitely not on top of a wood burner. Stuff the boots with newspaper if they’re really sodden, changing it every few hours. Leather boots in particular hate fast heat — it dries the fibres and causes cracking.
Once dry, check the seams and the rand for any splitting or lifting. Small areas can sometimes be repaired with seam grip or a patch; bigger failures are a job for a proper boot repairer. Then reproof. This is the step most people skip, and it’s the one that matters most.
Leather and synthetic want different things
Leather boots generally want a wax or a conditioner-and-proofer combo. Clean them first, then work a small amount of wax into the seams and the flex points with your fingers or a cloth. Don’t cake it on — a thin, even layer is better than a thick, sticky one that attracts grit. Some leather boots also benefit from a spray-on proofer over the top, especially full-grain leather that’s seen a lot of use.
Synthetic boots are usually happier with a spray-on DWR. Apply it outdoors or somewhere well ventilated, in two thin coats rather than one heavy one, and let it dry between coats. Some spray proofers work better if you gently warm the boot first with a hairdryer on a cool setting — check the instructions on the tin, because overheating can damage adhesives.
Nubuck and suede need a bit more care. Use a dedicated nubuck brush and a proofer designed for those materials. Don’t reach for the wax.
The mistakes that undo all the good work
There are a few classic own goals. Washing boots in the machine is one — it can wreck the shape, the adhesives and the membrane. Drying them on a radiator is another. Reproofing while the boot is still dirty is a third; you’re just sealing in the grit.
And then there’s the big one: storing them damp. Boots that live in a sealed bag in a cold shed all week will grow things you don’t want to think about. Let them dry fully, loosely laced, somewhere with a bit of airflow.
A short winter kit list
You don’t need much: a soft brush, a dedicated tech wash, a spray-on proofer for synthetics, a wax or conditioner for leather, a couple of cloths, and a supply of old newspaper. A boot horn is nice but not essential. A proper drying rack or a pair of boot dryers is a reasonable investment if you’re out several times a week.
When to admit defeat
Sometimes the boots really are done. A cracked rand, delamination between the sole and the upper, a sole worn smooth, or a membrane that’s been punctured by something sharp — those are not DIY fixes. A good cobbler can resole some boots and replace rands, and that’s often cheaper than a new pair. But if the upper is collapsing or the membrane has gone in multiple places, it’s time to let go.
For everything else, a bit of time before the worst of the weather arrives will pay you back all winter. Clean boots, a fresh layer of DWR, and a dry place to store them — that’s the difference between a damp slog and a decent day out. The mud is coming either way. Best be ready for it.